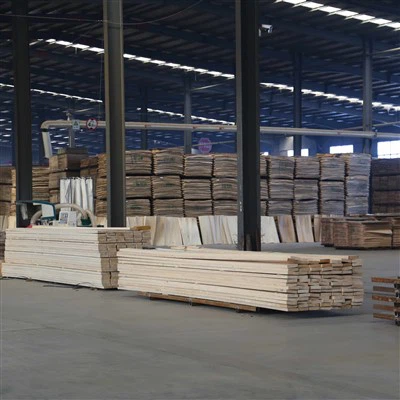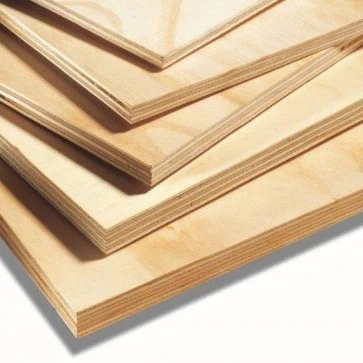
Aligning LVL (Laminated Veneer Lumber) wood during installation is a crucial step that can significantly impact the structural integrity and aesthetic appeal of your building project. As a trusted LVL wood supplier, we understand the importance of getting this process right. In this blog post, we'll share some expert tips on how to align LVL wood effectively during installation.
Understanding LVL Wood
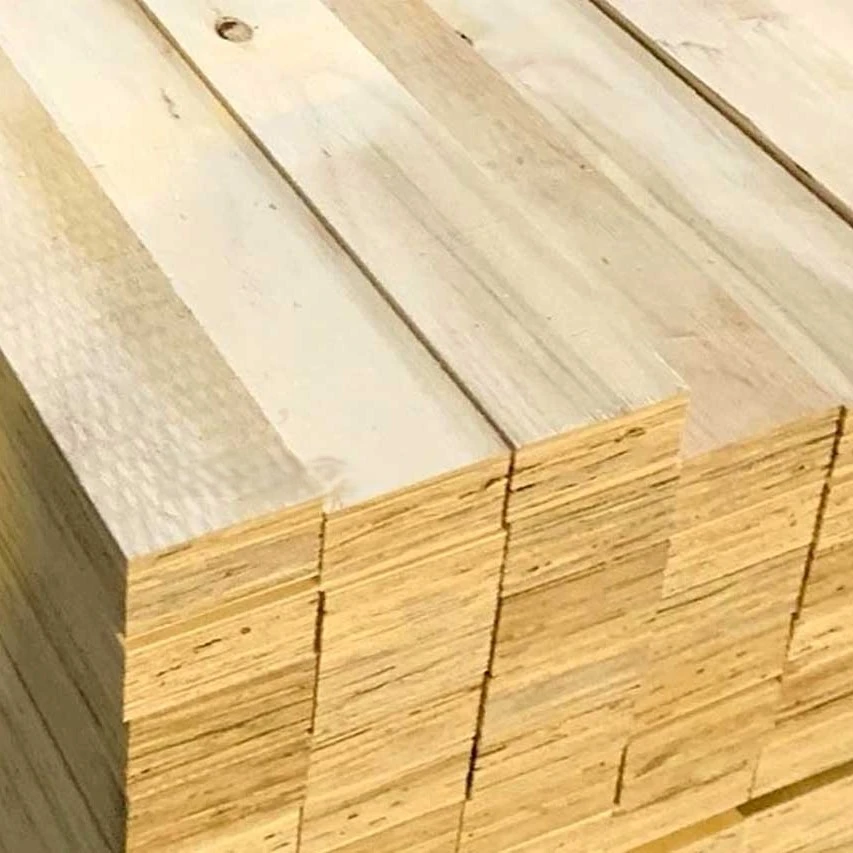
Before diving into the alignment process, it's essential to have a basic understanding of LVL wood. LVL is an engineered wood product made by bonding multiple layers of thin wood veneers together with adhesives. This manufacturing process results in a strong, stable, and dimensionally consistent material that is widely used in construction for beams, headers, joists, and other structural applications.
LVL wood offers several advantages over traditional solid wood, including greater strength, uniformity, and resistance to warping and splitting. It also allows for longer spans and can be customized to meet specific project requirements. Our company offers a wide range of LVL products, including Perfect LVL Timbers Suit for Building Projects, which are designed to provide optimal performance in various building applications.
Pre-Installation Preparation
Proper preparation is key to ensuring a successful LVL wood installation. Here are some steps to take before you start aligning the LVL wood:
- Review the Plans: Carefully review the construction plans and specifications to understand the layout, dimensions, and load requirements of the LVL wood. Make sure you have all the necessary materials and tools on hand, including a level, measuring tape, chalk line, and appropriate fasteners.
- Inspect the LVL Wood: Before installation, inspect the LVL wood for any damage, defects, or signs of moisture. Ensure that the LVL wood is straight, flat, and free from any warping or bowing. If you notice any issues, contact your supplier immediately to arrange for a replacement.
- Mark the Layout: Use a chalk line or a laser level to mark the layout of the LVL wood on the supporting structure. This will help you ensure that the LVL wood is installed in the correct position and alignment. Make sure to mark the location of any joints, connections, or support points.
- Prepare the Support Structure: Ensure that the supporting structure, such as the foundation, walls, or beams, is level, plumb, and structurally sound. Any unevenness or instability in the support structure can affect the alignment of the LVL wood and compromise the integrity of the entire system. Make any necessary repairs or adjustments to the support structure before proceeding with the installation.
Aligning LVL Wood Horizontally
When installing LVL wood horizontally, such as for floor joists or beams, it's important to ensure that the wood is level and properly aligned. Here are some steps to follow:
- Start with the First Piece: Begin by installing the first piece of LVL wood at one end of the support structure. Use a level to check that the wood is perfectly horizontal and adjust it as needed. Secure the LVL wood to the support structure using the appropriate fasteners, such as nails, screws, or bolts.
- Align the Remaining Pieces: Once the first piece is installed, align the remaining pieces of LVL wood next to it, ensuring that they are flush and in a straight line. Use a level to check the alignment of each piece and make any necessary adjustments. Secure the LVL wood to the support structure and to each other using the appropriate fasteners.
- Check for Levelness: As you install each piece of LVL wood, use a level to check the overall levelness of the entire system. Make any necessary adjustments to ensure that the LVL wood is perfectly horizontal and that there are no high or low spots.
- Join the LVL Wood: If you need to join two or more pieces of LVL wood together, use a proper jointing method, such as a butt joint, lap joint, or scarf joint. Make sure to follow the manufacturer's recommendations for jointing LVL wood and use the appropriate fasteners and adhesives.
Aligning LVL Wood Vertically
When installing LVL wood vertically, such as for columns or posts, it's important to ensure that the wood is plumb and properly aligned. Here are some steps to follow:
- Mark the Location: Use a chalk line or a laser level to mark the location of the LVL wood on the foundation or support structure. Make sure to mark the center point and the edges of the LVL wood.
- Set the First Piece: Begin by setting the first piece of LVL wood in place at the marked location. Use a plumb bob or a laser level to check that the wood is perfectly vertical and adjust it as needed. Secure the LVL wood to the foundation or support structure using the appropriate fasteners, such as anchor bolts or brackets.
- Align the Remaining Pieces: Once the first piece is installed, align the remaining pieces of LVL wood next to it, ensuring that they are plumb and in a straight line. Use a plumb bob or a laser level to check the alignment of each piece and make any necessary adjustments. Secure the LVL wood to the foundation or support structure and to each other using the appropriate fasteners.
- Check for Plumbness: As you install each piece of LVL wood, use a plumb bob or a laser level to check the overall plumbness of the entire system. Make any necessary adjustments to ensure that the LVL wood is perfectly vertical and that there are no leaning or tilting issues.
- Brace the LVL Wood: To prevent the LVL wood from shifting or moving during installation or use, it's important to brace the wood properly. Use temporary braces, such as diagonal braces or cross braces, to support the LVL wood until the permanent connections and supports are in place.
Aligning LVL Wood at Joints and Connections
When installing LVL wood at joints and connections, such as at beam intersections or column-to-beam connections, it's important to ensure that the wood is properly aligned and secured. Here are some tips to follow:
- Use the Right Connectors: Make sure to use the appropriate connectors and fasteners for the specific joint or connection. Follow the manufacturer's recommendations for the type, size, and installation method of the connectors.
- Prepare the Joints: Before installing the connectors, prepare the joints by cutting the LVL wood to the correct length and angle. Make sure the joints are clean, smooth, and free from any debris or moisture.
- Align the Joints: Use a level, plumb bob, or laser level to align the joints and ensure that they are flush and in a straight line. Make any necessary adjustments to the LVL wood or the connectors to achieve a proper fit.
- Secure the Joints: Once the joints are aligned, secure them using the appropriate fasteners, such as nails, screws, bolts, or adhesives. Make sure to tighten the fasteners to the recommended torque or tension.
- Check for Alignment: After securing the joints, check the alignment again to ensure that the LVL wood is still properly aligned and that there are no gaps or misalignments. Make any necessary adjustments if needed.
Common Challenges and Solutions
Aligning LVL wood during installation can sometimes present challenges. Here are some common challenges and solutions:
- Warping or Bowing: If the LVL wood is warped or bowed, it can be difficult to align it properly. To solve this problem, you can try using clamps or braces to straighten the wood before installation. If the warping or bowing is severe, you may need to replace the affected piece of LVL wood.
- Uneven Support Structure: An uneven support structure can cause the LVL wood to be misaligned. To address this issue, you can use shims or leveling compounds to adjust the height of the support structure. Make sure to check the levelness of the support structure before installing the LVL wood.
- Incorrect Measurements: Incorrect measurements can lead to misaligned LVL wood. To avoid this problem, double-check all your measurements before cutting or installing the LVL wood. Use accurate measuring tools and follow the construction plans and specifications carefully.
- Difficult-to-Reach Areas: In some cases, it may be difficult to access or align the LVL wood in certain areas. To overcome this challenge, you can use specialized tools or equipment, such as long-handled levels or telescopic measuring devices. You may also need to enlist the help of a second person to assist with the alignment process.
Conclusion
Aligning LVL wood during installation is a critical step that requires careful planning, preparation, and attention to detail. By following the tips and techniques outlined in this blog post, you can ensure that your LVL wood is installed correctly and aligned properly, resulting in a strong, stable, and aesthetically pleasing building project.
As a leading LVL wood supplier, we offer a wide range of high-quality LVL products, including LVL For Reinforcement And Crack Prevention and E0 Furniture LVL Timbers Eco Friendly. Our products are designed to meet the highest standards of quality and performance, and we are committed to providing our customers with the best possible service and support.
If you have any questions or need further assistance with aligning LVL wood during installation, or if you are interested in purchasing our LVL products, please don't hesitate to contact us. We look forward to helping you with your next building project.

References
- "Laminated Veneer Lumber (LVL): Design and Construction Guide," American Wood Council.
- Manufacturer's installation instructions for LVL wood products.