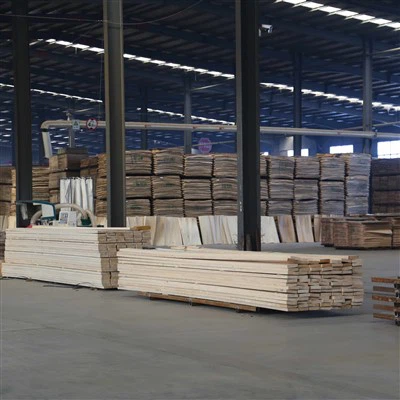
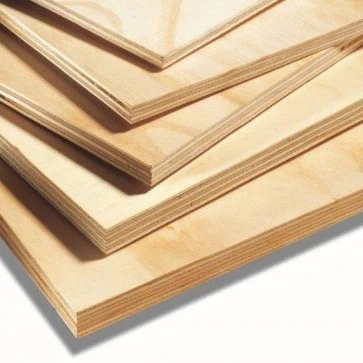
Hey there! As an outdoor structural plywood supplier, I've seen firsthand how a well - installed outdoor structural plywood wall can transform a space. It's not only durable but also adds a rustic charm to any outdoor area. In this blog, I'll walk you through the step - by - step process of installing outdoor structural plywood on a wall.
Step 1: Planning and Preparation
Before you even think about picking up a saw or a nail gun, you need to do some solid planning. First off, measure the wall where you want to install the plywood. Make sure you get accurate measurements of the height and width. This will help you figure out how much plywood you need. You don't want to end up with too much or, even worse, not enough.
When it comes to choosing the right plywood, we've got some great options. Check out our Waterproof Exterior Structural Plywood Wall Sheathing. It's designed to withstand the elements, so you won't have to worry about water damage. Another great choice is our Anticorrosive Structural Plywood Lumber for Formwork, which is perfect if you're in an area where corrosion could be an issue.
Once you've got your plywood, gather all the tools you'll need. You'll need a circular saw to cut the plywood to size, a nail gun or a hammer and nails for attaching it to the wall, a level to make sure everything is straight, and a tape measure for those last - minute checks.
Step 2: Cutting the Plywood
Now that you've got your measurements, it's time to cut the plywood. Lay the plywood on a flat surface. Make sure it's stable so it doesn't move around while you're cutting. Use your tape measure to mark the cutting lines on the plywood. Double - check your measurements before you start cutting.
When using a circular saw, always wear safety goggles and gloves. Start the saw and slowly guide it along the cutting line. Take your time and keep a steady hand. If you're not confident using a circular saw, you can always have the plywood pre - cut at your local hardware store.
Step 3: Preparing the Wall
The wall needs to be clean and dry before you start installing the plywood. Remove any dirt, dust, or debris from the wall surface. If there are any nails or screws sticking out, pull them out or hammer them in flush with the wall.
Check the wall for any unevenness. If the wall is not perfectly flat, you can use shims to level it out. Place the shims behind the plywood at the uneven spots to ensure a smooth installation.
Step 4: Installing the Plywood
Start at the bottom corner of the wall. Hold the first piece of plywood against the wall, making sure it's level. Use a level to check the vertical and horizontal alignment. Once it's in the right position, start attaching it to the wall.
If you're using a nail gun, load it with the appropriate nails. Drive the nails through the plywood and into the wall studs. Space the nails about 6 - 8 inches apart along the edges of the plywood and 12 inches apart in the middle. If you're using a hammer and nails, make sure the nails are long enough to penetrate the plywood and into the wall studs.
As you install each piece of plywood, make sure there's a small gap of about 1/8 inch between the sheets. This allows for expansion and contraction of the plywood due to changes in temperature and humidity.
Step 5: Finishing Touches
After all the plywood is installed, check for any loose nails or uneven edges. If you find any, fix them immediately. You can also sand the edges of the plywood to smooth them out.
If you want to protect the plywood further, you can apply a coat of paint or a sealant. This will not only enhance the appearance of the wall but also provide an extra layer of protection against the elements.


Step 6: Maintenance
Once your outdoor structural plywood wall is installed, it's important to maintain it properly. Inspect the wall regularly for any signs of damage, such as cracks or water stains. If you notice any issues, address them right away.
Clean the wall periodically with a mild detergent and water. Avoid using abrasive cleaners as they can damage the surface of the plywood.
Why Choose Our Outdoor Structural Plywood?
Our outdoor structural plywood is made from high - quality materials. We use advanced manufacturing techniques to ensure that our plywood is strong, durable, and resistant to the elements. Whether you're building a shed, a deck, or a fence, our plywood is a great choice. And we've got different sizes and types to meet your specific needs. For example, our 4*8 Construction Use Structural Plywood Waterproof is a popular option for many construction projects.
Contact Us for Your Plywood Needs
If you're interested in purchasing our outdoor structural plywood or have any questions about the installation process, don't hesitate to reach out. We're here to help you make the best choice for your project. Our team of experts can provide you with more information and guide you through the purchasing process.
References
- "Building Construction Handbook" by Cyril M. Harris
- "Plywood and Composite Panels: Materials, Manufacturing, and Applications" by R. Bruce Hoadley